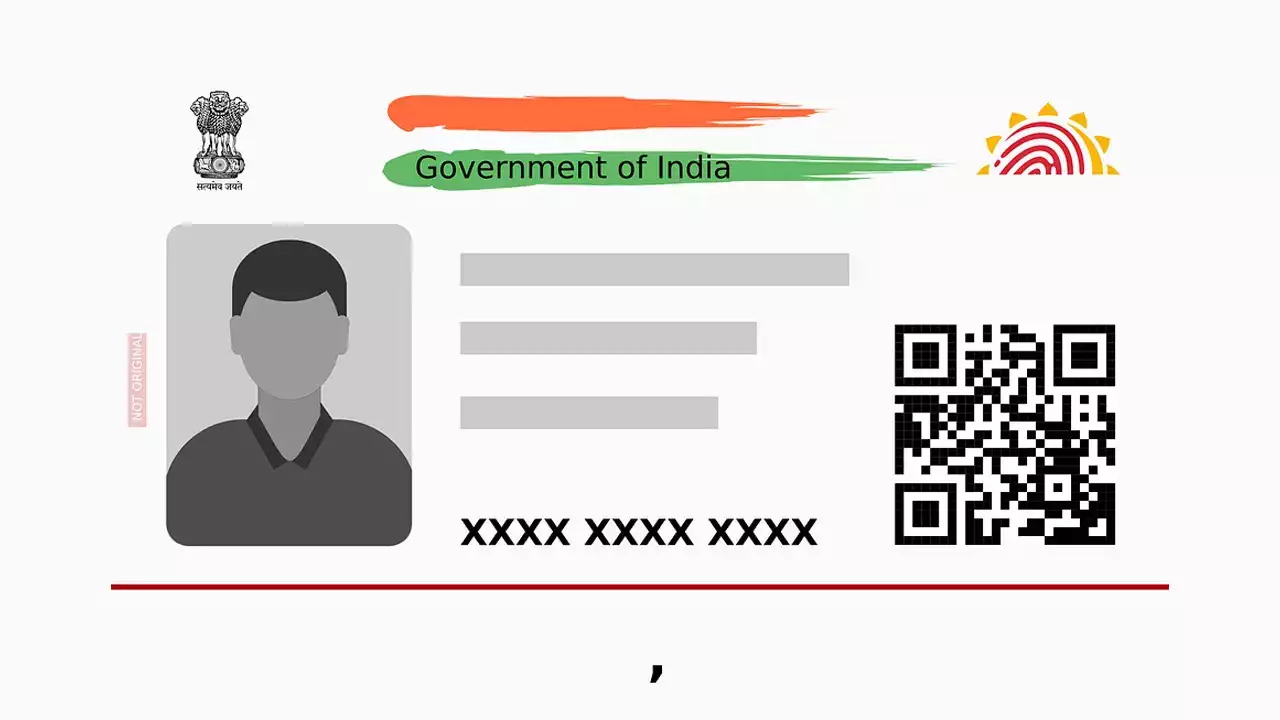
Applying for an Aadhaar card in India is an essential process as it serves as a unique identity number that connects an individual to various government services and schemes. Whether you’re planning to access subsidies, gain benefits or even apply for a personal loan for women, the Aadhaar card is a must-have document. This article will take you step-by-step through the process of applying for an Aadhaar card, especially if you are a first-time applicant.
What is Aadhaar?
Aadhaar is a 12-digit unique identification number issued by the Unique Identification Authority of India (UIDAI). It serves as proof of identity and address across India. An Aadhaar card incorporates biometric data (iris scan and fingerprints) and demographic information of the individual.
Why Do You Need an Aadhaar Card?
Aadhaar is required for a multitude of reasons:
- Government Subsidies: Enables access to subsidies and schemes like LPG subsidies, scholarships, etc.
- Banking Services: Opens avenues for financial services such as opening bank accounts or applying for personal loans for women.
- Identity Proof: Acts as a valid piece of identification for various services, including travel and accommodation.
- Digital Payment: Facilitates digital transactions and online services.
Simple Steps to Apply for an Aadhaar Card
1. Locate an Enrollment Center
The first step to apply for Aadhaar card is to find an Aadhaar Enrollment Center. You can easily find the nearest center via the UIDAI website. Follow these steps:
– Go to the UIDAI website.
– Click on “Locate an Enrollment Center.”
– Enter your state, district, and locality to find a list of centers near you.
2. Book an Appointment
While it’s possible to walk into an Aadhaar Enrollment Center, booking an appointment online can save you time and hassle. The UIDAI portal provides an option to select the date and time for your visit. Confirm it and carry a printout of your appointment slip when you visit the center.
3. Gather Required Documents
To apply for an Aadhaar card, you need specific documents that prove your identity, address, and date of birth. The documents can be divided into:
– Proof of Identity (PoI): Passport, PAN card, voter ID, etc.
– Proof of Address (PoA): Utility bill, rent agreement, bank statement, etc.
– Proof of Date of Birth (DoB): Birth certificate, SSLC certificate, etc.
Ensure these documents are originals or certified copies. It’s always a good idea to carry multiple documents as a precaution.
4. Visit the Enrollment Center
On the day of your appointment, visit the Enrollment Center with all your required documents. The staff will provide you with an enrollment form to fill out. The form will ask for details like your name, date of birth, address, and mobile number.
5. Biometric Data Collection
Once the documents are verified against the information provided in the enrollment form, the staff will collect your biometric data:
– Photograph: A recent photograph will be taken.
– Iris Scan: Both your eyes will be scanned.
– Fingerprint Scan: All ten fingers will be scanned.
Ensure all data is correctly captured to avoid any discrepancies later on.
6. Review and Acknowledgment
After the biometric data collection, you will be asked to review all the information. Make sure everything is accurate. Once you confirm, you will receive an acknowledgment slip containing a 14-digit enrollment number. This number is crucial as it can help you track the status of your Aadhaar card.
7. Check Aadhaar Status
The entire process of generating and dispatching an Aadhaar card may take up to 90 days. You can track the status using the enrollment number:
– Visit the UIDAI website.
– Click on “Check Aadhaar Status.”
– Enter your enrollment number and captcha.
8. Download e-Aadhaar
Once your Aadhaar card is generated, you can either wait for the physical card to arrive by post or download the e-Aadhaar from the UIDAI website. The e-Aadhaar is a digitally signed document that is considered as valid as the physical card. Here’s how you can download it:
– Go to the UIDAI website.
– Click on the “Download Aadhaar” option.
– Enter your Aadhaar number or enrollment ID.
– Verify through OTP, and download the PDF file.
9. Print Your Aadhaar Card
Finally, you can print the e-Aadhaar and laminate it for safekeeping. Having a printout can come in handy for various processes, including applying for personal loan, opening bank accounts, and more.
Conclusion
Applying for an Aadhaar card in India is a straightforward process but one that involves multiple steps ranging from visiting an enrollment center to submitting required documents and verifying biometric data. This unique identification number is crucial for availing various government schemes and financial products.
Whether you’re a first-time applicant or someone assisting others in their application journey, following these simple steps ensures that the process of applying for an Aadhaar card is smooth and efficient. Additionally, if you look forward to enhancing financial independence by opting for a personal loan for women, having your Aadhaar card can make the process much easier and faster.
So, equip yourself with the necessary documents and gear up for the Aadhaar enrollment process today!
